Showing posts with label gold leaf. Show all posts

Sunday, 6 July 2014

Shabby Chic Course Finished work


Again the results of the Shabby Chic course at Waimea College are fantastic.
I love all the creativity and I am inspired every time by the finished work.
Each course is different, I teach the same techniques, but the outcomes are always so unique.
All the pieces in the photographs were items found in recycle or op shops and are now beautiful restored with care, patience and love.


Piano Stool distressed and covered with French fabric.

Transfer image from the "Graphics Fairy" website onto a trolley with a background crackle.

Transfer image onto a wooden distressed clock, the numbers are just gilded.

Beautiful distressed tray with a rose transfer image.

Decoupaged fairy inside a frosted vase

A copper vase gilded
A old wooden tray decoupaged and antiqued, love it!

This rose is not painted on, but done with the transfer technique using wrapping paper.
The next course starts in August at Waimea College,Richmond, Nelson.
I also travel to teach workshops in Shabby Chic, for more information, email me.

Sunday, 30 March 2014

Beautiful finished work from the shabby chic course at Waimea college.

A gilded astronaut,cool!
 All the pieces are from the ladies who came to my Shabby Chic course at Waimea College in Richmond near Nelson.
I am always amazed by the creativity and original ideas the ladies bring to the course and we learn from each other.
The astronaut is now not just a plastic toy anymore,but a funky little piece to be admired!
Also the chair before and after, what a difference!
It was a great course again and I hope the ladies will continue to "Shabby Chic".
Lovely gilded frame and Christmas decorations

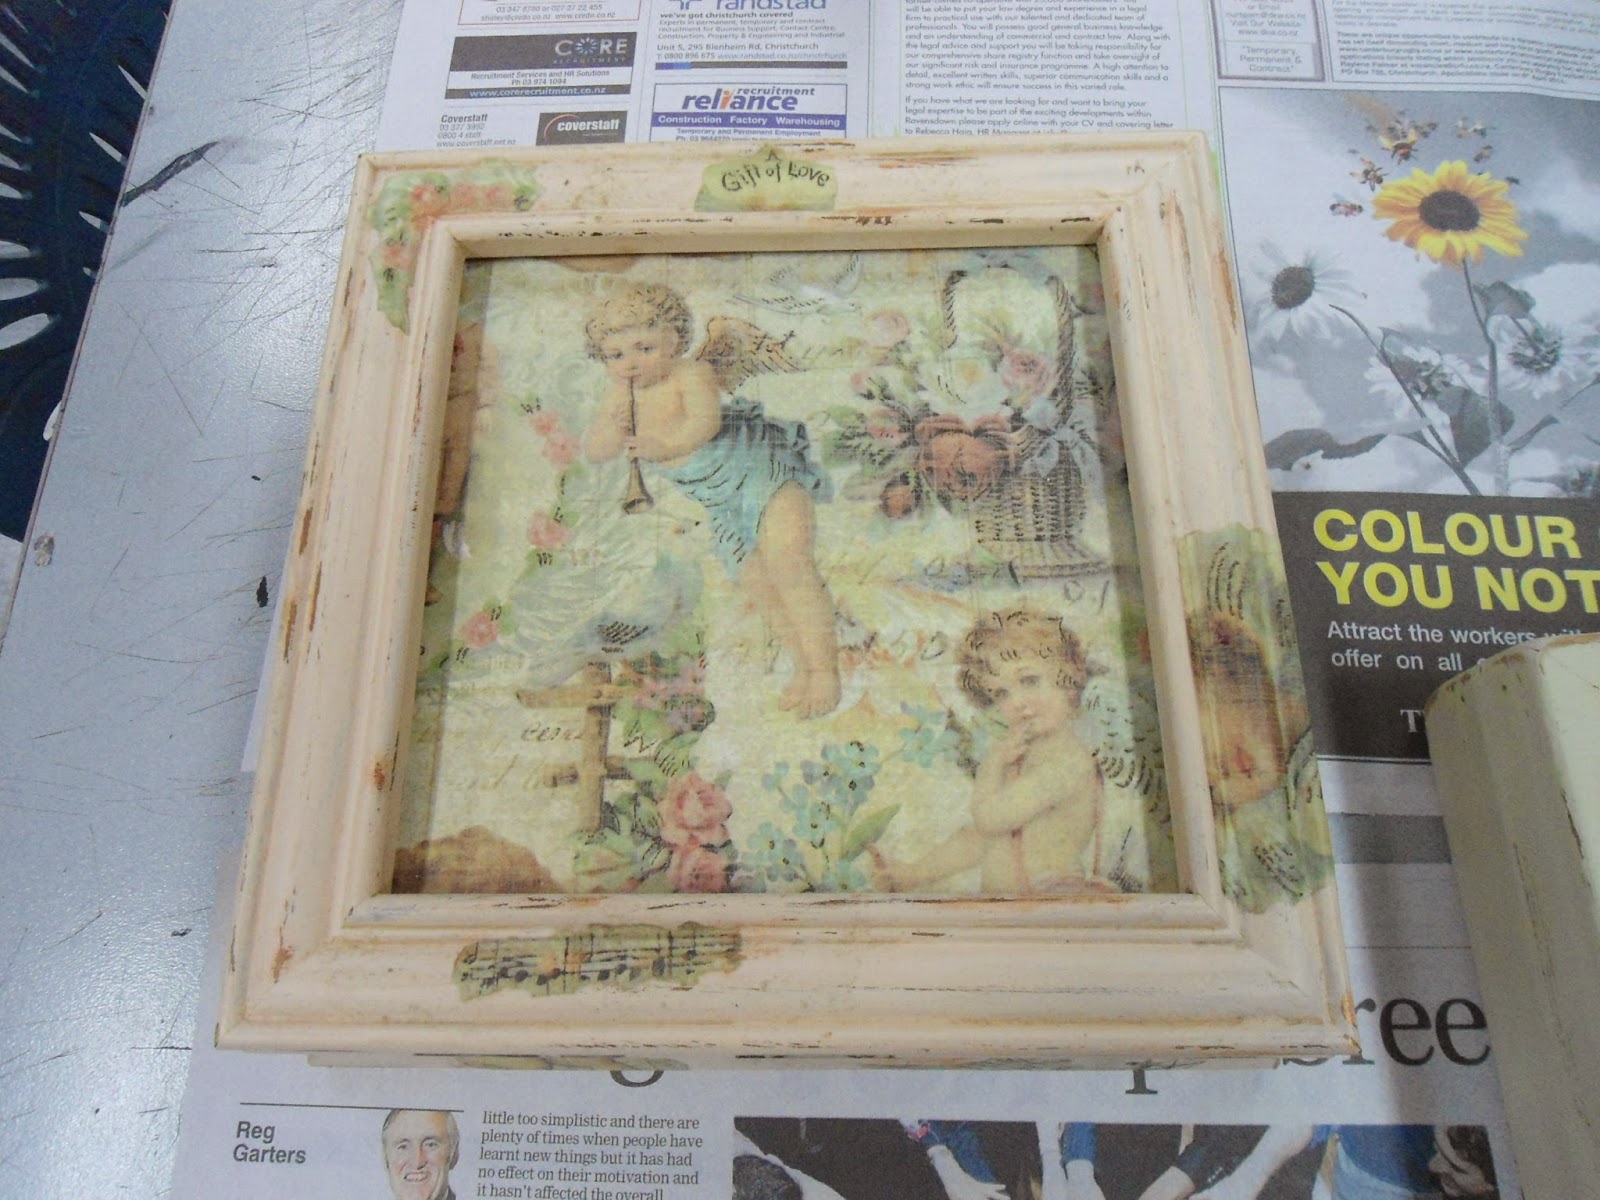
I love thisdecoupaged box

The image is printed on with ink, image is from the Graphic Fairies website.

The chair before

The chair after!


Saturday, 16 November 2013

Gilding or applying gold leaf

Crackled heart

Wooden candle stick gilded

Gilding in progress

Partly gilded frame


Finished candle sticks

Furniture in progress


All photographs are projects done in the Shabby Chic class at Waimea College,Nelson.
Last week we tried gilding or using imitation gold leaf, by mistake I bought copper gold leaf instead of the gold. The ladies liked the copper and I must say I love the finished work.
Also the crackled wooden heart as part of a Christmas decoration looks great..

Saturday, 31 August 2013

Shabby Chic Gilding


Gilding or applying gold leaf to furniture or other objects can be a bit daunting in the beginning, but it is worth a try, especially if you like a bit of lustre and richness to your work.
Gold leaf is very thin and the 24 karat gold leaf is expensive, so in the course I used the imitation gold leaf or "Dutch sheet" as it is sometimes called.
The gold leaf is applied with gold size, a thin glue that stays tacky for up to 20 hours.
On Wednesday night the ladies didn't use a gilders pad or gilders knife, they are traditionally used for gilding.
We used scissors to cut the gold leaf and a little Vaseline on a soft brush to pick up the gold leaf before applying it to the item.
Gold leaf needs to dry well and is a bit fragile till varnished.
The imitation leaf can tarnish and needs to be varnished.
The gold leaf can be gentle rub down with fine steel wool and methylated spirits and antiqued with burnt umber oil paint.
The little angel icon is antiqued, the colours are toned down.
I love the look of gilding on furniture and paintings. In Italy I was so inspired by the most beautiful art works in churches, often gilded and they still had the most amazing glow even after centuries.